Showing posts with label painted furniture. Show all posts

June 23, 2014

racing stripe bookcase: before and after


Disclosure: This post was sponsored by Glidden® paint through their partnership with POPSUGAR Select. While I was compensated to write a post about Glidden paint, all opinions are my own.

While cleaning out my hall closet, I found a great little bookcase that had been hidden behind piles of coats, umbrellas and who knows what else. An old piece that came from my parents garage years ago that was sturdy but the victim of a very bad refinishing job.


So when Glidden® paint asked if I'd like to try their Glidden paint Duo Paint + Primer, I knew I had a good candidate on my hands. I wanted something bright and fresh for this little number. Something to give it a bit of style.


Color combos were an important consideration for me because I wanted something bright and, you know me - colorful, but I also wanted something different. What better chance to step out of your color comfort zone then with a blah piece of furniture, am I right? I even took a quick poll on Instagram.


Coral and white won out in the end thanks to a beautiful shade called Glidden paint's Cheery Cherry. Great name, right? Right up my alley. I tried the Glidden paint's Bright White in Eggshell and Glidden paint's Cheery Cherry in Semi-Gloss.


After stripping and sanding the bookshelf, I was ready to start painting. (Check this out for more info on how I strip and prep furniture for paint).


Disregard the beat up manicure and focus on my too very close hand. See any paint on there? Me neither. One of my biggest beefs when painting is all of the spray that ends up on my hand when rolling the paint on. I see one little spec of paint on my hand and this was after painting the whole piece. Aces.


Two coats later I had a bright white bookcase ready for a bit of fun.

All kinds of crazy ideas went thru my head on what to do with the inside of the bookshelf. I knew I didn't want to just paint the whole inside one color as that is the way it was before and it left the inside like a black hole. A stencil or some type of pattern crossed my mind but because of its size and fixed shelves, I thought it would end up looking too busy once it had books etc. inside. Ultimately, the single racing stripe won out.


The hubs helped to measure everything out to make sure that the stripe was centered and consistent all the way down.


Once the tape is down it is vital to paint one more coat of your base color over the tape to prevent any bleed thru. Learn from my mistakes people, this will make for very straight lines. It is so worth the extra step.

Two coats of Glidden paint's Cheery Cherry and I've got myself a racing stripe bookcase. I'm in love.


Straight lines make me giddy. And that semi gloss finish on the racing stripe gives just the right amount of shine.


I've already moved this bookcase into a few different spots, banging it when going thru doorways (when will I ever learn) but the paint has stayed in great shape. Not a nick in site. I'm loving the style it will bring to my new walk in closet.

Have you painted anything lately? Are you into racing stripes as much as I am? Is it possible that I'm obsessed with coral now?

April 7, 2014

the love and hate of painted furniture

Start your engines people, the week has begun. Hopefully y'all enjoyed some good times this weekend. We were busy beavers with track meets, home projects, ORC check ins and several trips to the park. And in between all of that I was able to go out to a huge flea market that is new to the St. Louis area.

It was an amazing turn out in a beautiful (and muddy) location and I saw tons of great accessories and fabulous booths. But as I walked deeper and deeper into the market there was one thing that started to bum me out. Everyone had great furniture but all. of. it. was painted. Some of it was just slopped with white paint, and some of it was beautifully done in fab colors.

And to be honest, it really bummed me out. Does everything have to be painted? What about refinishing the furniture instead? It would involve the same prep time and the same amount of work (to do it right). Don't ruin a beautiful secretary by drowning it in gallon of cheap paint.


And then I turned the corner and saw this. Beautiful. Amazing. Head spinning console. I thought of a million places this could go and a dozen people who needed it in their home.


Obviously you know I love painted furniture as I've shown here, here and here. And I'm not suggesting it goes away entirely, but I think we need more pieces in their original state.

via
via
via
via

What do you think? Would you consider refinishing your next vintage find rather than painting it? Would you be more likely to buy something that was refinished or painted?

March 20, 2013

one room challenge - the reveal

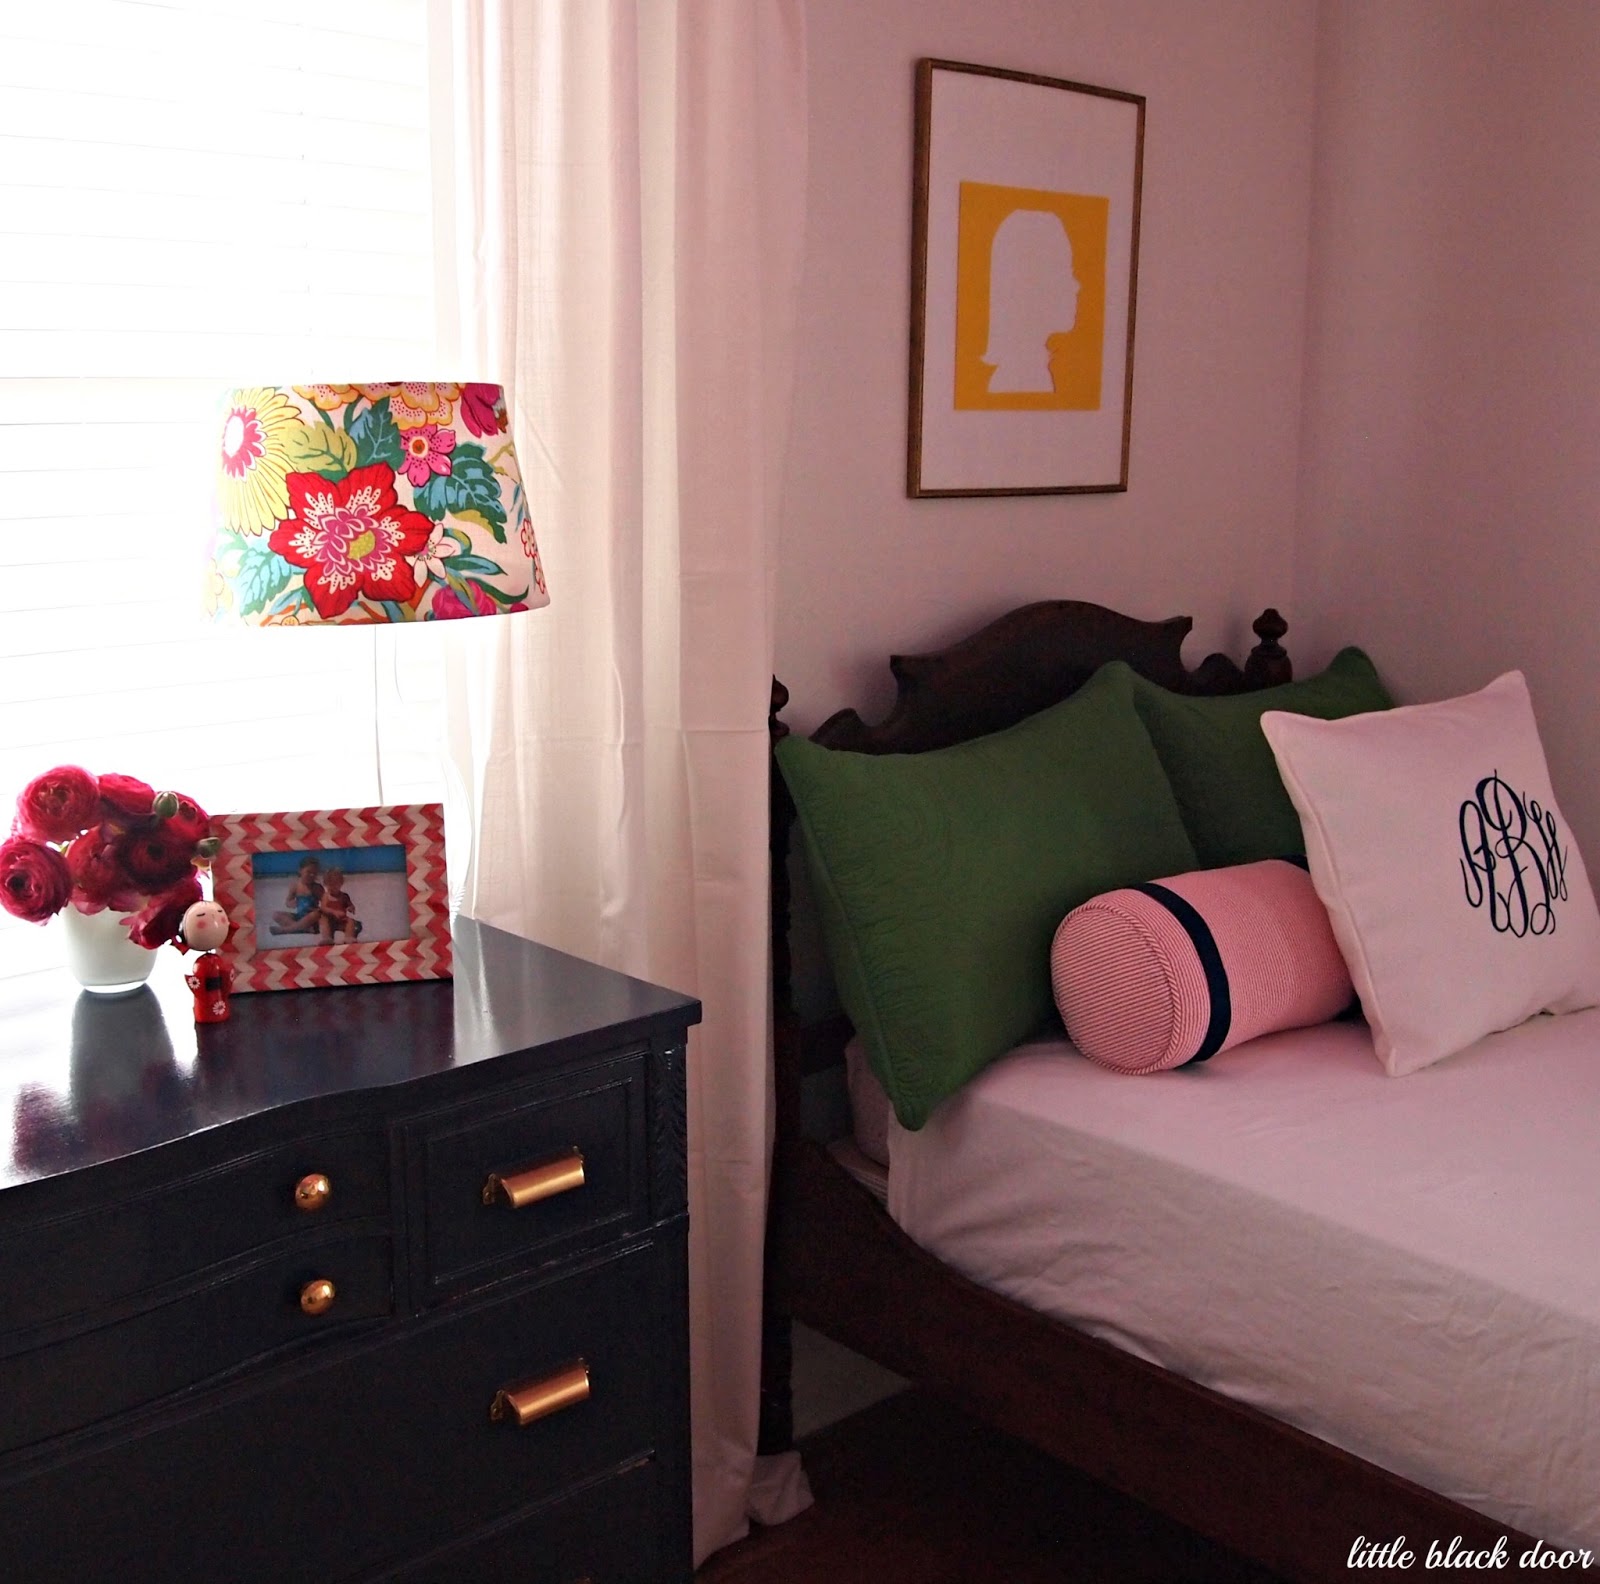
The big day has finally arrived - reveal day! Six weeks, 20 bloggers and one room later, my girls' have a new bedroom and I have a new manicure coming my way (catch up on weeks 1-6 of work on the ORC here).

So in the words of Jennifer Grey in Ferris Bueller, 'let's not ruin this with a lot of talk.' Let's get right to the good stuff.

If you follow me on instagram, then you've been getting little sneak peeks for the past few days. Here is where we started.


And six weeks later, here is where we are today.


Learn more about the silhouettes here.


Learn more about the heart artwork here.


Watercolor by Mai Autumn.


Learn more about the vanity here.


Learn more about the dresser here.


And with that I am spent. Happy but spent.

I want to thank all of you for following along and for your encouraging comments and support. I accept this Oscar on behalf of all the....oh wait, that's a different speech.

If you are new, please come back often as this project has actually triggered several others through out the house (I'm sick, I know). And for you regulars, big hugs and kisses to you.

And a big thanks to my friend Linda for including me. My first two cocktails tonight will be in your honor my dear.

Make sure to check out my fellow ORC ladies to see their beautiful spaces as well. It's like Christmas morning I tell ya.

Now about that cocktail...

March 15, 2013

high gloss dresser tutorial

How is that for a cleaver title post? Yawn.


I thought I would share what I did right, messed up on, and learned from on this old dresser.

For those of you who are new (welcome by the way) and those that might not remember, I got this dresser about a year ago. Long story short - $70 at an estate sale. Raise that roof people.

Here is the way he looked when I met him. The excitement of finding him obviously prevented me from taking a straight picture.


After a year of heavy use as a changing table/dresser it was showing a lot of wear, which I thought was odd. It's not like we beat it or anything. This should have been my first clue as to how refinishing would go.


It is as sturdy as can be and a solid piece of furniture but I was over the white. So let the project begin.

Since it was a balmy 30 degrees outside when I started this (and maybe 38 in the garage) I knew I'd have to take this project inside. So I pulled out the always trusty Citristrip. And good news, they now also have this stuff in a spray can. Wish I had known that before I started.


There is zero smell with this stuff. In fact it smells kind of minty fresh. And it is low VOC, so no worries about harming the littles with my projects.


Put on way more than this picture shows. Like double this amount. I put some on, took this picture and then put on more. More is more with this stuff.

They also recommend you use gloves but I didn't (I live on the edge). I got some on my hands and I've lived to tell the tale.


The directions will tell you to wait 30 minutes, but I could tell by looking at it after a half hour it wasn't ready. I waited two full hours, or basically until it looks like this. The longer you wait, the less muscle you need.


Then you scrape. And if you've been patient, it just lifts right off. Like butta.

As you can tell from this picture my suspicions were right - those little bastards just painted right over the varnished wood. See how dark that wood is? That's layers and layers of stain and varnish. No wonder it chipped so easily.


Enter Easy Liquid Sander Deglosser. This is the product if you have ever said "God I hate sanding. Can I pay someone to do this for me?" No need. Just pour this stuff on and rub it in with a corse lint-free cloth. I used an old wash cloth I had from the dollar store. 


You can see that all the varish didn't come off after the first, or second coat. So later, rinse, repeat. I'm going to find the people that painted this thing and shake them. Or make them watch episodes of 1600 Penn. Yes, that would be much worse.


The good news about this product is that you can do another coat as soon as the first one dries, which is usually about 15 minutes or so. And it's stink free too.


Finally it is ready.

Now I had originally planned to go with oil based porch and floor paint, like Jenny has used, to get the high gloss finish I was after. But remember that whole weather issue? I can't paint outside in 30 degree weather and oil based paint in the house with no windows open is a no no.

Luckily after telling my sob story to the smarty pants at Benjamin Moore, he suggested this.


Benjamin Moore Advance. It is a water based alkyd paint so it acts like an oil based paint (self-leveling, high gloss finish, hard laquer like shell) but without killing many brain cells.

Sold.

After talking about my search for the perfect shade of navy paint, I decided to follow Natalie's lead and went with Old Navy by Benjamin Moore.


I used a roller that my new bestie at Benjamin Moore recommended and it worked like a charm. I was a bit nervous after putting on the first coat though as it wasn't as dark as I wanted. But as the hours passed it got darker and darker.

And yes, I did say hours. A full 24 to be exact. That's how long you have to wait in between coats. And I did four coats. That is four days people. Of painting. And then another four days of drying.

Eight days and nights. Just sitting there, waiting for it to develop its hard candy shell. It was my biggest lesson in patience since having a 'willful child'.


But now he's done and looking good. He makes me smile every time I see him. That deep navy and the little sparkle of his gold handles. He looks like a royal admiral in the navy or something. I think I will call him captain.


Look at that glossy top. You can see the reflection of the ceiling in that thing. Oh captain, you are such a show off.


Pulls courtesy of Martha Stewart at Home Depot. Knobs are the same ones I used on the vanity from Hobby Lobby.


The high gloss on the captain makes him wonderful in person, but a bit hard to photograph.


I'm so protective of him I can't really bring myself to put anything on him. But he is calling to be styled I think.

So the lessons learned: Benjamin Moore Advance is aces, Citristrip is a cinch and Sander Deglosser is a lifesaver. And most importantly, do. not. ever. paint over varnish. Or I will find you.

Painted anything lately? Found a piece of furniture that was keeping secrets from you? Want to come over and help me put the girls room together?
Related Posts Plugin for WordPress, Blogger...
09 10 11 12
Blogging tips